Tarte Tatin

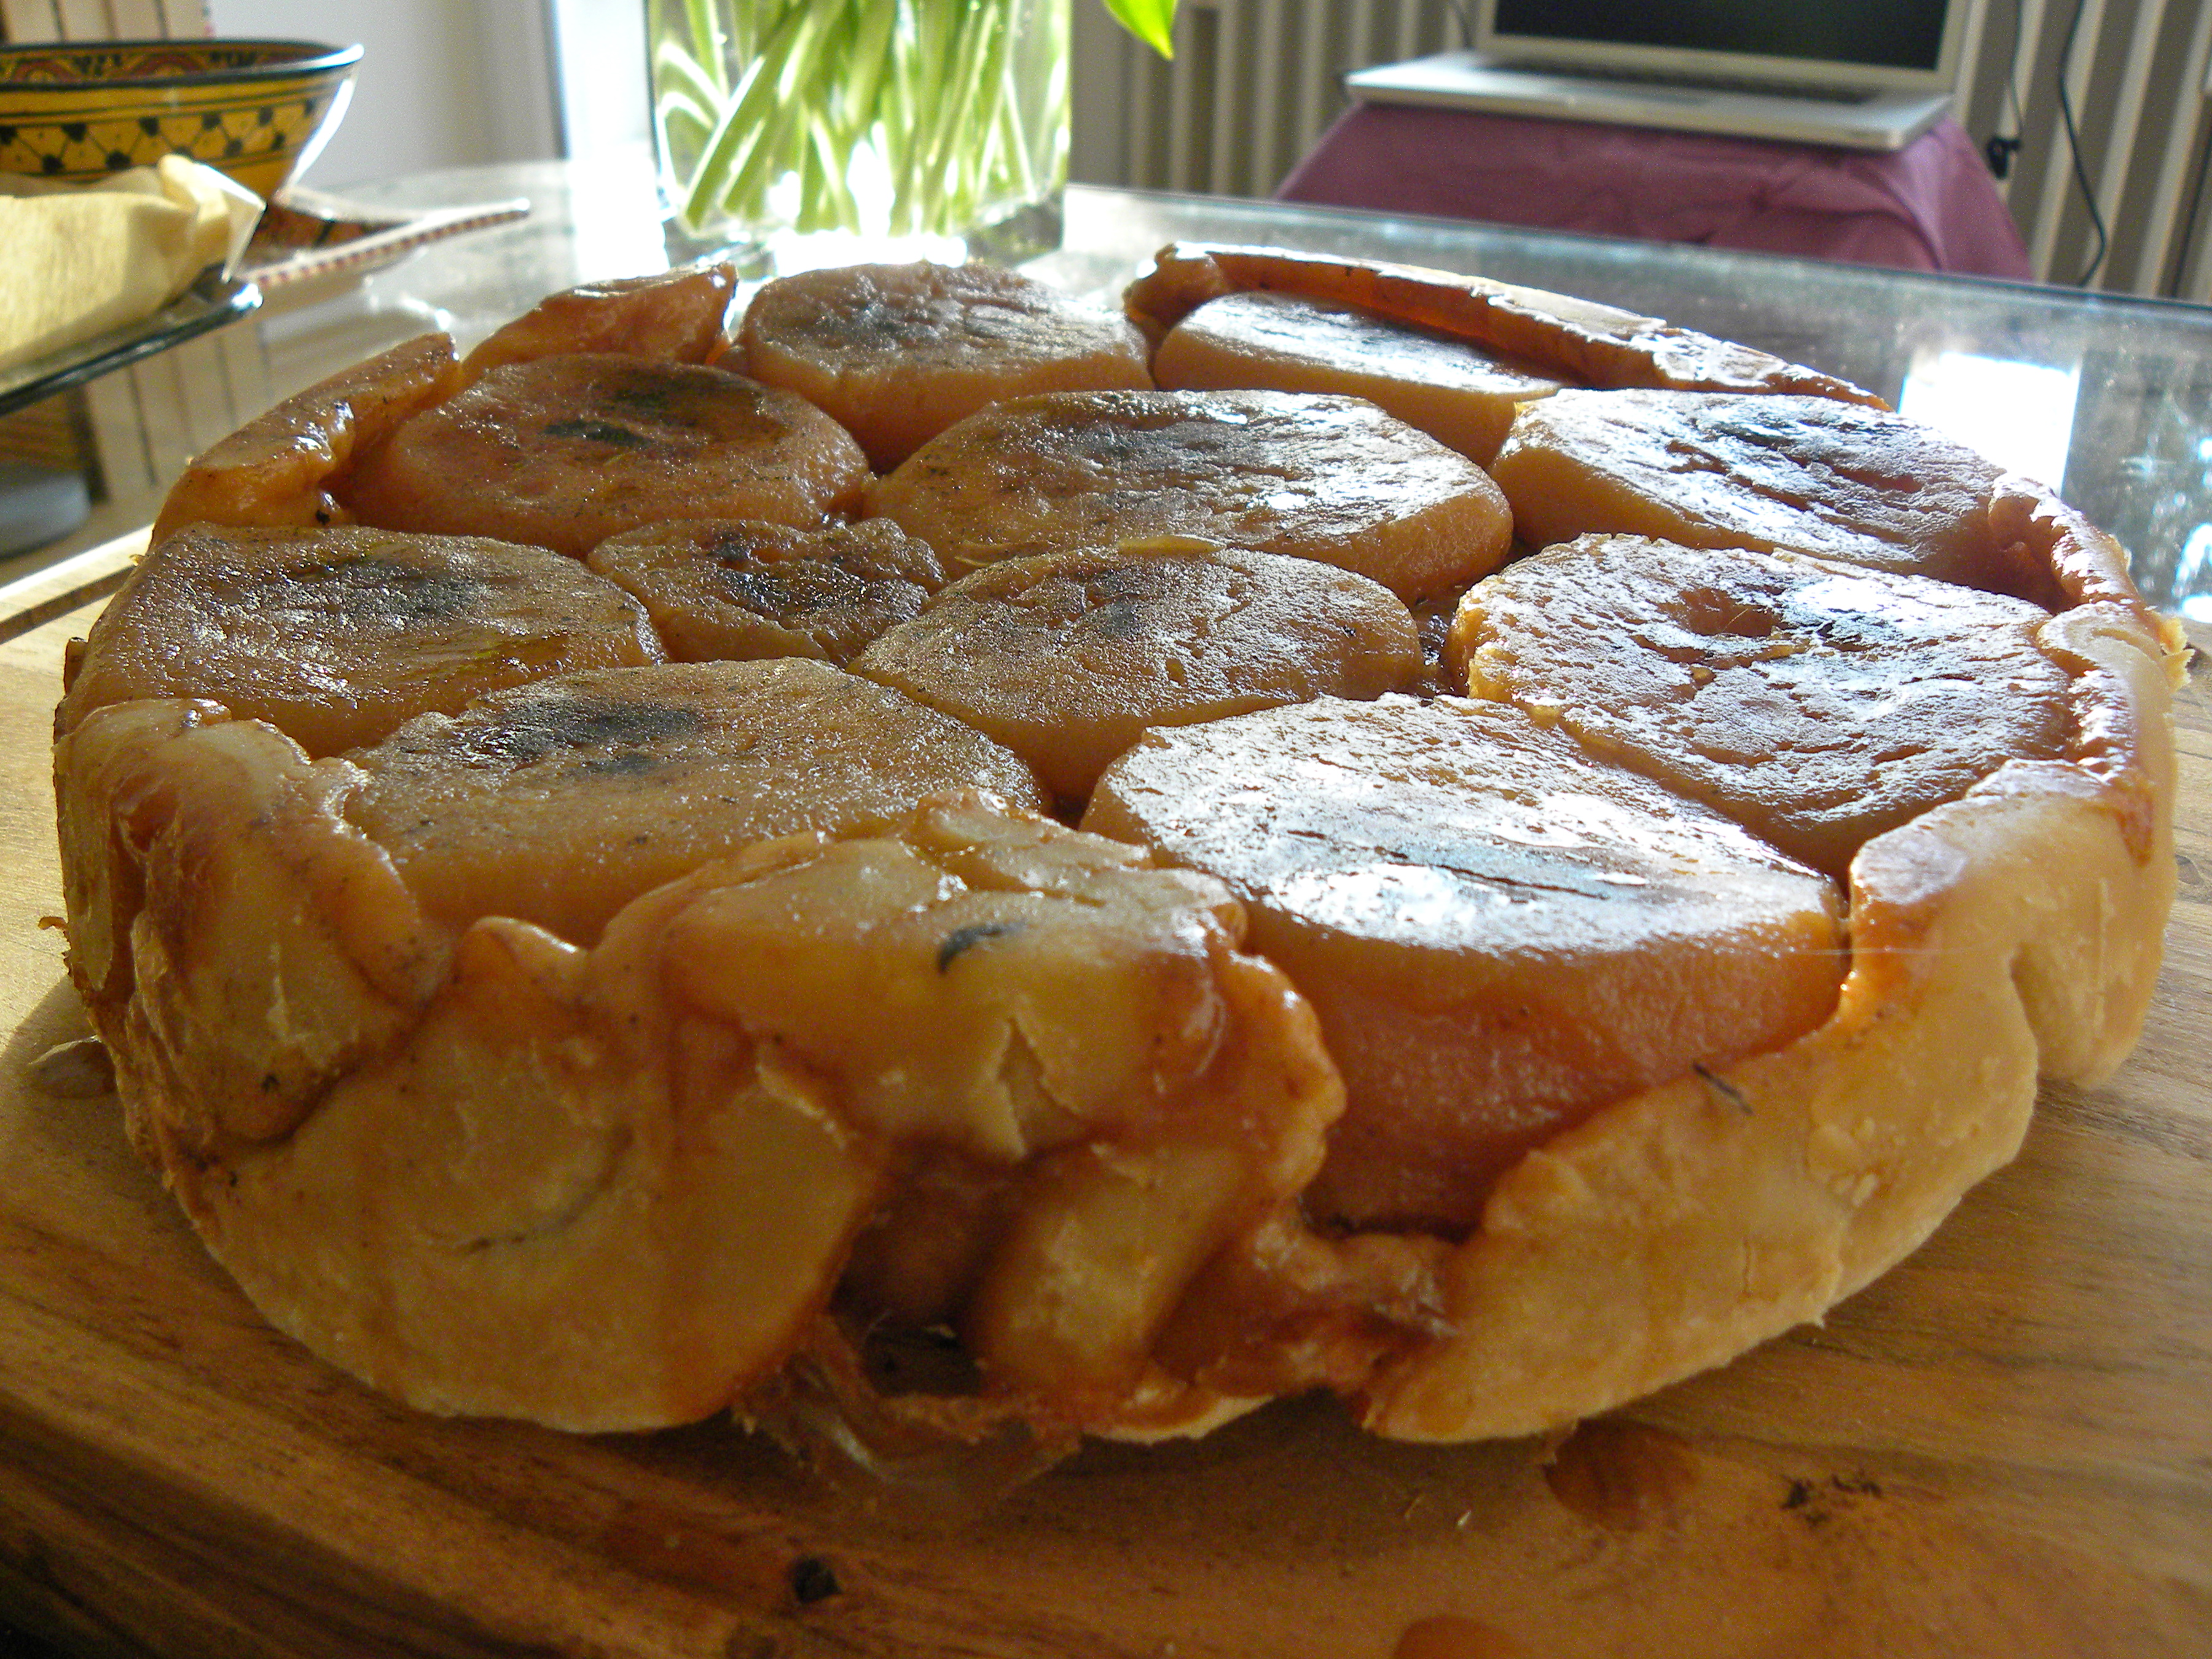
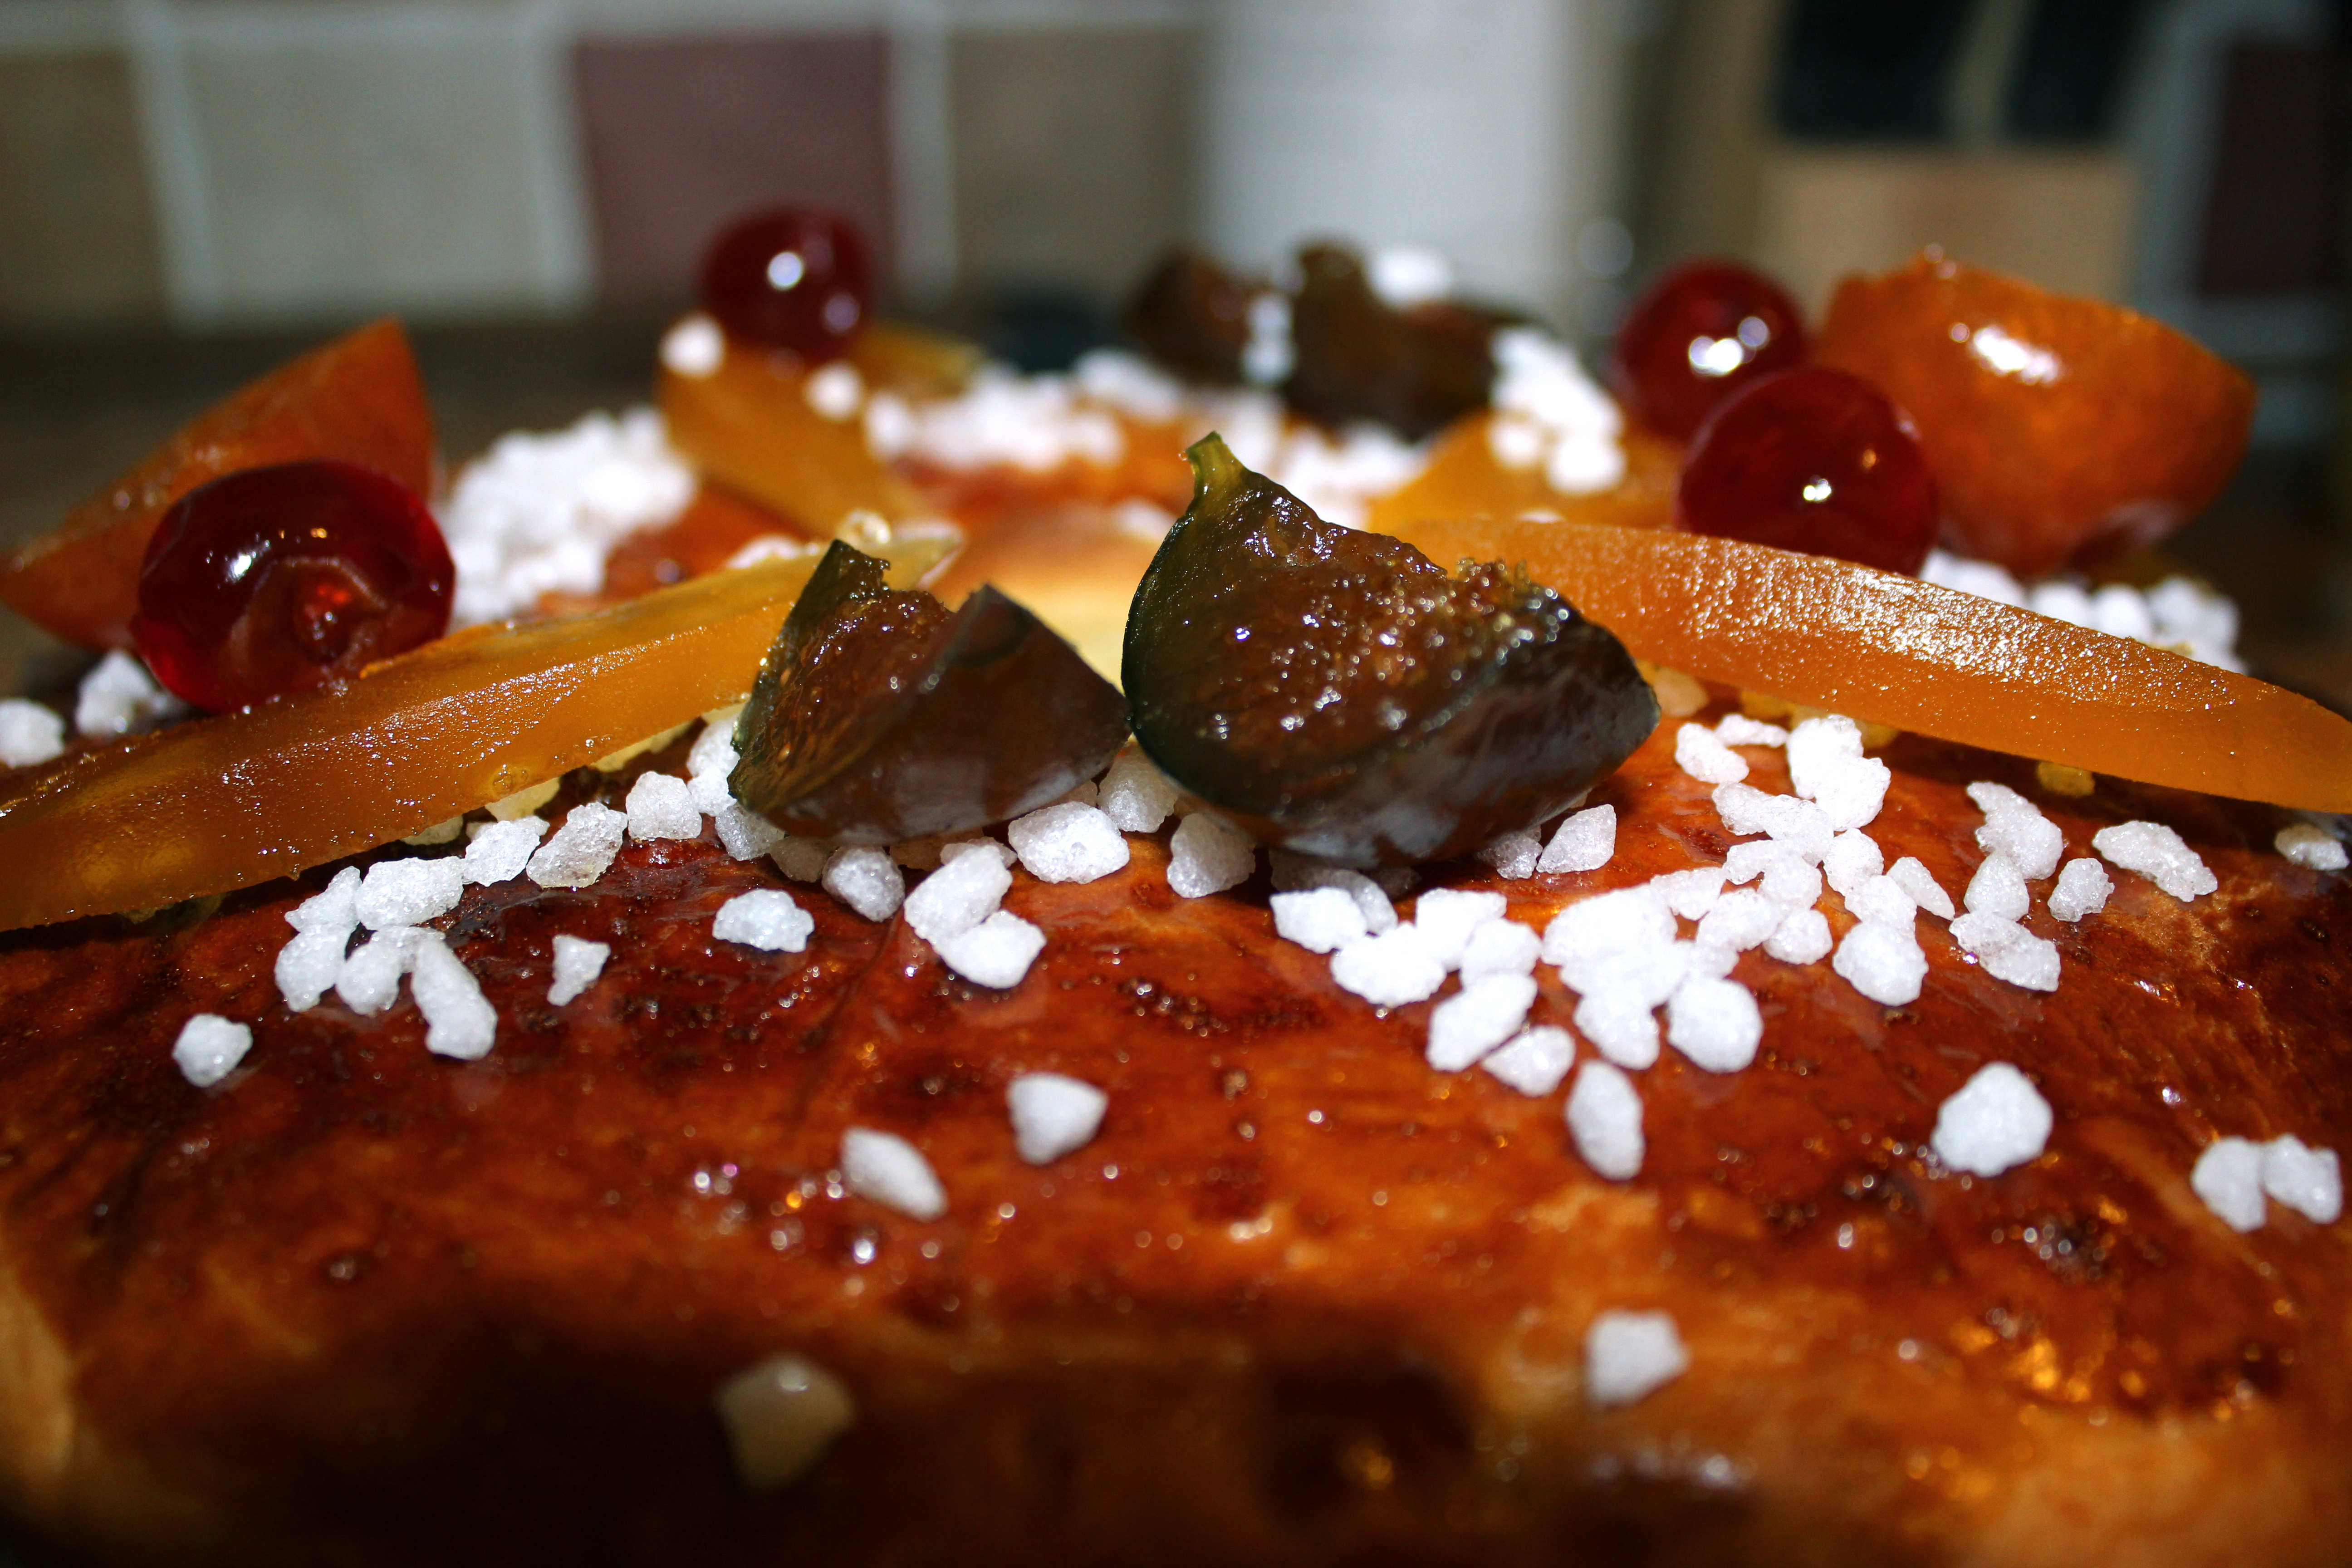
This is one of my favorite dessert, even if I can’t dip it into my tea…

This upside down tart is rustic and beautiful. Everyone who tasted it absolutely loved it, but it is particularly special for people who don’t have a sweet tooth as it is not too sugary. The secret of this tart is to use Golden apples, yellow, chubby, juicy and sweet, not the small green ones found in supermarket. Organic shops and farmer markets is where you want to look for these apples.

DSCN1549

Ingredients for a 26cm cake tin:

  • 12 Golden apples peeled, cored and halved
  • 50g of unsalted butter
  • 2 lemons
  • 2 tbsp of vanilla sugar
  • 4 tbsp of granulated sugar + a little for the pastry
  • 1 shop-bought shortcrust pastry with added sugar

Turn the oven on at 170C.

My pan is just big enough to pre-cook 6 halves at the same time. If you have a giant pan that can do them all at the same time then use the totality of the measure stated above, otherwise divide them equally for each pan-full. Melt a knob of butter in a pan under medium heat and brown the apples slightly on both sides. While cooking sprinkle the apples with vanilla sugar, sugar and add the lemon juice. Move the apples around to try not to burn them, especially on their bumpy side. When one load is done, place aside and proceed to the next batch until all the halves are done.

Build your tart by placing the first row of apples, bumpy side down, in the tin. Pack them well. Try to pick your best looking apples as this will be the top of your tart and it should look perfect. For the second row of apples, place them core down a bit like if you wanted to recreate the apple but move them slightly to the side so each halve overlap 2 halves  from the next row.

Roll your pastry to make a circle bigger than your cake tin and try to keep it quite thick. The odd circular shape and the thickness of the pastry will give your tarte tatin a unique rustic look. Place the pastry on top of your apples and tuck the sides in trying to enclose both rows of apples. Cook for 15 minutes then take the tart out and press lightly on the pastry with a plate. The apples are being steamed and are getting softer, by pressing on them you will flatten the pastry and the apples and create a nice flat top to your tarte tatin. Turn the oven down to 140C and cook the tart for an extra 30 minutes until the pastry is brown. Leave the tart to cool slightly but not too long otherwise the caramelised apples will stick to the bottom of the tin. Place a plate on top of the pastry, hold the plate in one hand and the tin in the other, take a deep breath and turn your tart over on the plate. Keep the tin on the tart and leave it to cool completely, then take it off and serve with vanilla ice cream or clotted cream.

King cake (Gateau des Rois)

IMG_0936

I used to go to the oldest bakery of my village every day after New Year’s eve to check their window for these beautiful shiny crowns topped with candied fruits. Gateau des rois is sold only in January to celebrate the Epiphany, when the kings bring gifts to little Jesus. Of course the North and the South of France have 2 different styles of cakes, the galette in the North and the brioche in the South. I am going to help you create the southern cake. In my region, when you buy this cake at the bakery or in supermarket it comes with 2 golden paper crowns. The tradition is that the youngest child sits under the table while someone else is cutting the cake. The hiding is essential as there is a “gift” hidden in the cake by the baker and you might reveal its position by cutting it. For each slice, the person hidden under the table gets to choose to whom that slice should go to. Children will desperately try to get the slice with the gift inside, even though it is usually a small figurine of the nativity, but it also means they will be allowed to wear one of the crown and choose their queen or king. For adults however, the person who gets the gift will have to buy the next Gateau des rois and still have to wear the crown…not as much fun.

The brioche should be light and buttery, and the candied fruits should be macerated in rum. And yes, we do serve this to children!

IMG_0934

Ingredients for 2 medium cakes:

  • 400g of candied fruits chopped in small cubes ( as much as you want really)
  • 2 tbsp of rum
  • Zest of 1 lemon
  • 8g of salt
  • 600g strong bread flour
  • 75g caster sugar
  • 3 eggs + 1 egg for brushing
  • 150g unsalted butter, soft
  • 1 tbsp of Orange Flower water
  • 250ml full fat milk, tepid
  • 12g of fast action yeast
  • whole candied fruits to decorate, candied cherries and orange peels
  • 50g pearl sugar to decorate

Macerate the cubes of candied fruits in the rum while you prepare the rest.

Mix the yeast in the milk and leave to rest while weighting the other ingredients. Place the flour, sugar, zest, eggs and salt together in a mixing bowl. Mix at a low speed and gradually add the milk. When the ingredients are well mixed, incorporate the butter bits by bits. Once the butter is nicely mixed in, the dough will be smooth, glossy and elastic. Add the orange blossom flower water and mix in. Placed in a greased bowl, cover with cling film and leave to double in size somewhere warm.

Place the cut candied fruits over a sieve to collect the sugary rhum and keep for later.

Without knocking the air out, cut the dough in half and roll each half into balls. With your finger or the handle of a wooden spoon, pierce a hole in the middle and rotate it to create a crown shape dough. Flatten the dough or cut it open with a knife to make a nice little well all around the crown to lay the candied fruits. It is time to add a little “gift” to your dough for people to find when they eat your cake. Not too small to avoid an A&E visit! The old fashioned gift is a dried broad bean, but a little porcelain figurine will work better for children.

Now seal the dough together around the fruits and make sure they can’t ooze out but squeezing the dough really hard together. Turn the crown around onto a tray covered with baking parchment. Re adjust the shape of the crown and leave to prove for 1h30 somewhere warm.

Switch the fan oven to 200°C and brush the cake with the egg. Cook for 25 minutes. The crown should be golden and firm to the touch. As soon as the cake leaves the oven, brush the sugary rhum syrup all over, sprinkle with the pearl sugar and decorate with your whole candied fruits. the cake to rest in its tin while you make the glaze. Best eaten on the same day.

London foraged roasted Chesnuts

One of my favorite spreads on toasted sourdough bread is Chestnut Spread.  I usually bring back a few pots with me back from France, but when I run out, and this usually happens before Christmas, I usually manage to restrain my cravings with a few roasted chestnuts that you can find everywhere around London’s Christmas markets.

Chestnuts from the Ardeche region in France are famous and roasting them at home in the fireplace with the special chestnut pan is a favorite childhood memory of mine! When I was young we used to sit around the fire on cushions and wait for my dad to take them off the hot coals. We would then crack their burned crunchy skins on stacked old newspapers and eat them straight away!

The smell in the house after roasting chestnuts is unforgettable and this is what I wanted RIGHT NOW! My husband mentioned a few weeks before about this chestnut tree on his way to work that had beautiful red and orange colours and that we should go take some pictures. That was it, I had my moment! I am always foraging (yes even in London), and planning a chestnut foraging trip made my day! It turned out this chestnut tree was a maroon tress (chestnut for pigs as we call it in France), but I knew I have seen chestnut trees before and we decided to head straight to Hyde park on our bicycles. It was beginning of November, perfect sunny and crisp day to cycle across London and spend a few hours around the park.

DSCN4274

DSCN4276

I love the wilderness of Hyde park and we found chestnut trees near the North entrances on these wild looking fields. It didn’t take very long to find a dead branch and start to dislodge the beautiful spiky pods from the tree. After 15min or so the floor was covered with chestnuts that we happily picked up, with a proud smile on our faces.  DSCN4273

DSCN4290We found so many that day that I left the small ones behind and kept only the big chubby chestnuts to roast at home. We unfortunately don’t have a fireplace but they were still delicious roasted in the oven. Don’t forget to make a little incision in their skin carefully with a knife before cooking them to avoid chestnut explosions, fun to watch but very annoying to clean!

Fruit, nut and seed breakfast cake

I call it breakfast cake because I love dipping it into my tea in the morning or at anytime of the day really. My husband likes it toasted with butter, I like it with Nutella or marmalade. This cake is the perfect start of the week end, no sugar and no fat added. The sweetness comes from the dry fruits and the binding agent comes from the tea, egg and porridge mixture. If you have a good quality non-stick loaf tin, you don’t even need to use fat for greasing! Choose your nuts carefully if you want to keep it low in calorie (almonds have the lowest calorie content).

This recipe is adapted from my BBC Good Food magazine (p90- Feb 2014). They use black tea, figs and wholemeal flour which gives a dark colour to the cake (see below). I loved that version but decided to give it my own twist.

IMG_1076

Ingredients for a 1L loaf tin:

  • 400ml of green tea
  • 50g porridge
  • 130g of chopped dried apricot
  • 120g of golden raisins, cranberries and raisins
  • 1 medium egg
  • 100g of mixed nuts (pistachios, whole almonds, brazil nuts and walnut)
  • 200g of self raising flower
  • 1 tsp of baking powder
  • 25g of pumpkin seed (some more for the topping)
  • Pecan nuts, poppy, sesame seeds for topping

Turn the fan oven at 150°C. Mix the porridge, apricot and raisin/berry mixture to the tea in a large bowl and leave to cool. In a separate bowl, mix all the dry ingredients and keep the spare seeds and nuts aside for topping at the end. Add the dry ingredients to the wet and mix well. Fill your loaf tin and bake for 1h. Cover then with foil and bake for an extra 10 minutes. Using normal flour and green tea really gives this cake a lighter colour and texture, and I love the orange and green flecks randomly distributed. The recipe in the magazine says it keeps 1 month wrapped in the fridge, but at home it barely lasts a few days so I never had the chance to test the storage advice…

IMG_1136

My mother in law drinks Red Bush tea and I love the fresh fruity but still dark taste of this tea. That will be my next fruit cake I’ll bake and I will post a picture as soon as it comes out of the oven!